Loops
Loops allow you to repeat a section of a track seamlessly, giving you more control, creative freedom, and flexibility while mixing. Use loops to extend intros and outros, highlight a vocal hook, isolate a drum break, or build tension before a drop. Whether you're layering textures or crafting smooth transitions, loops are essential for both live performance and preparation.
To find the Loop section go to Tools and tap the Loop icon.
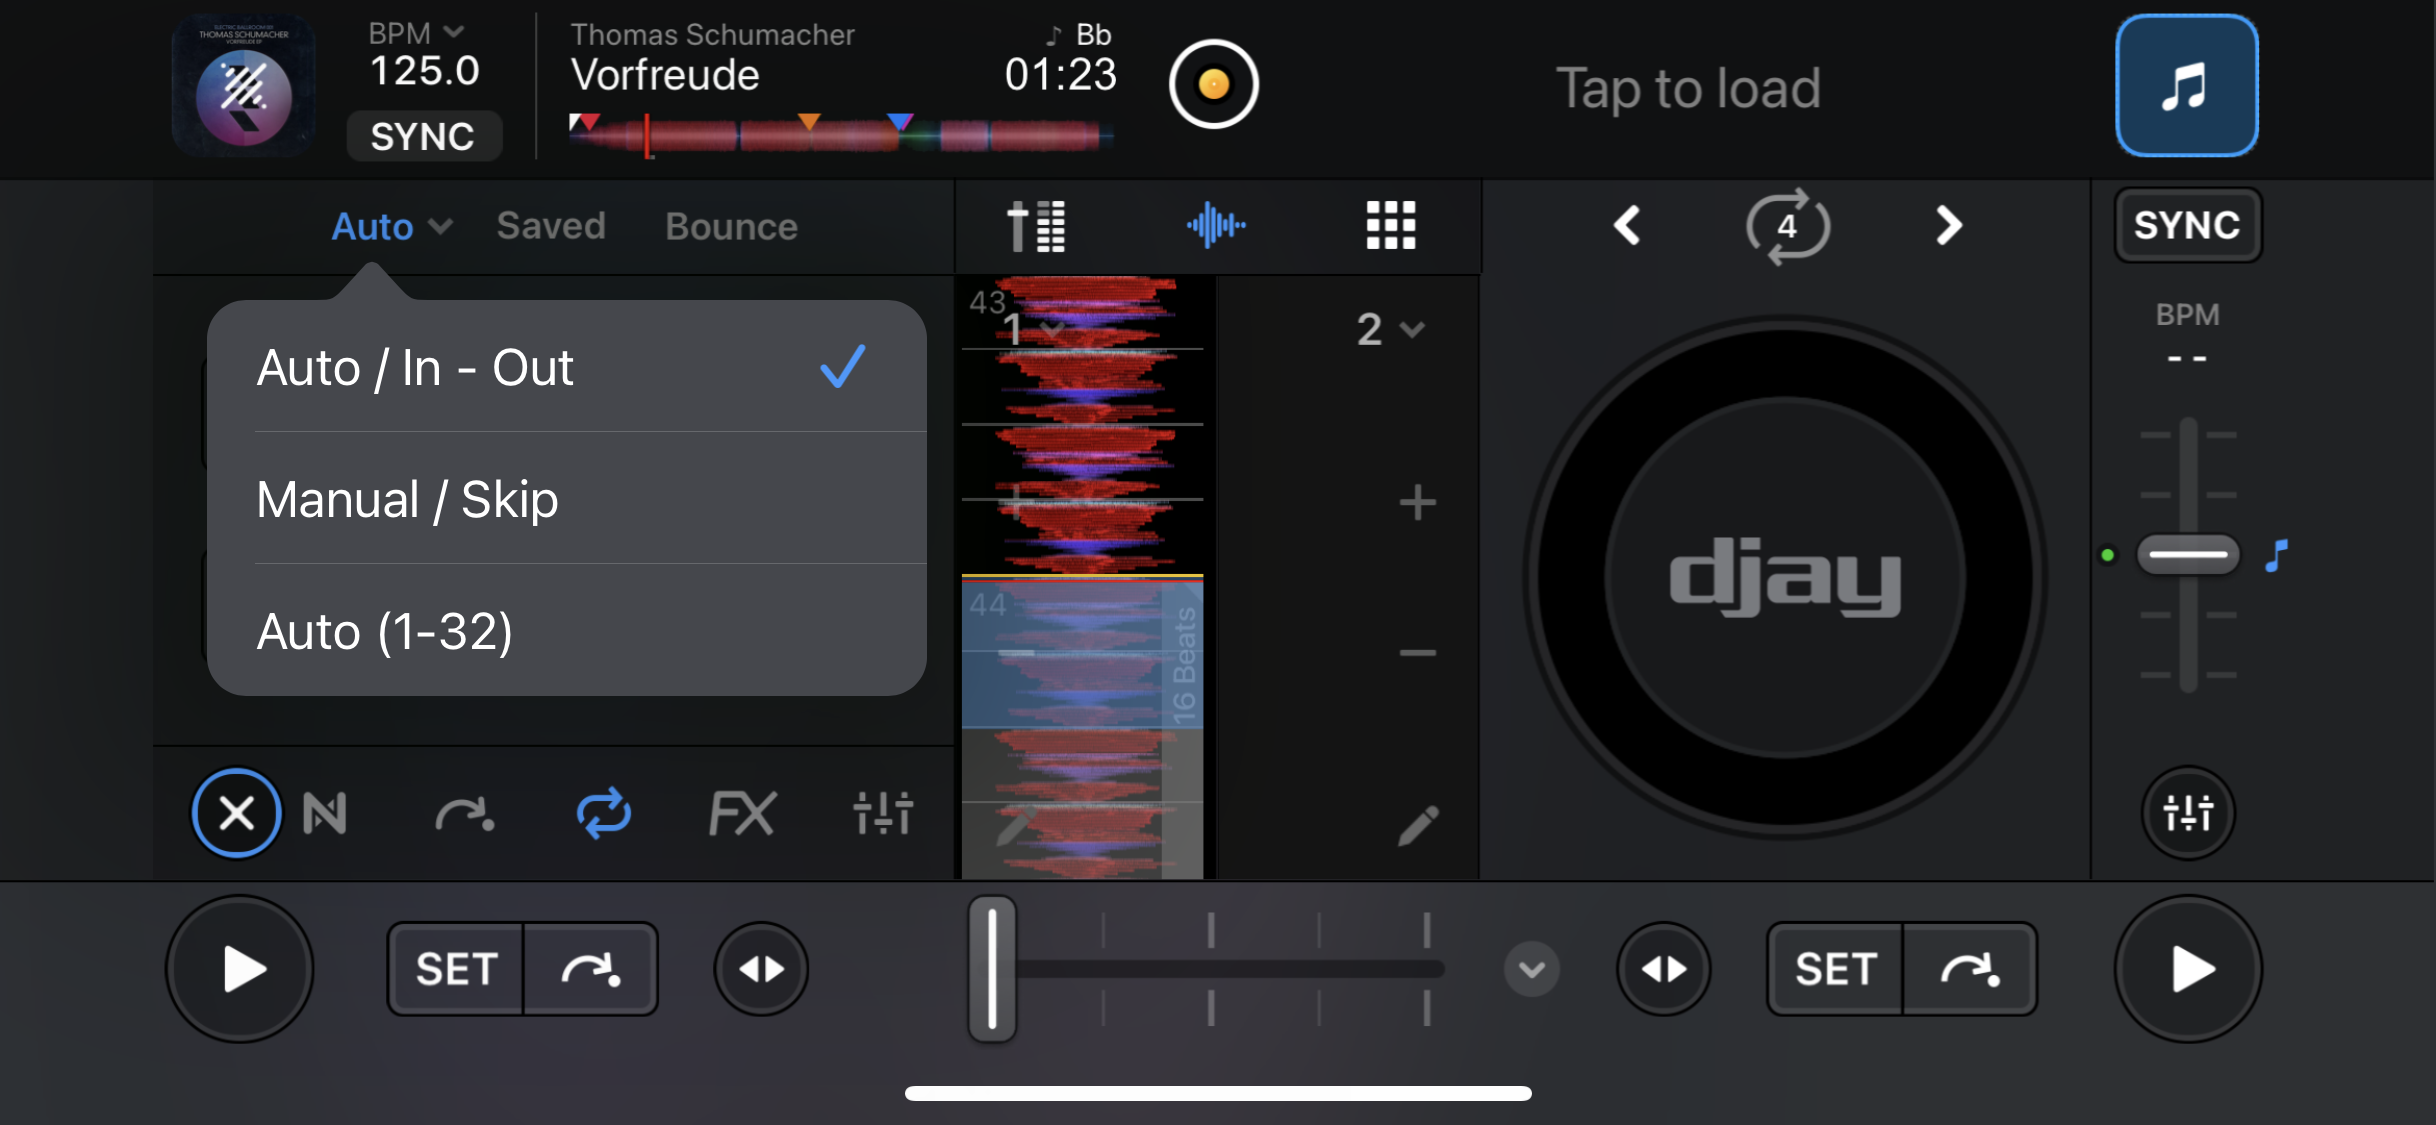
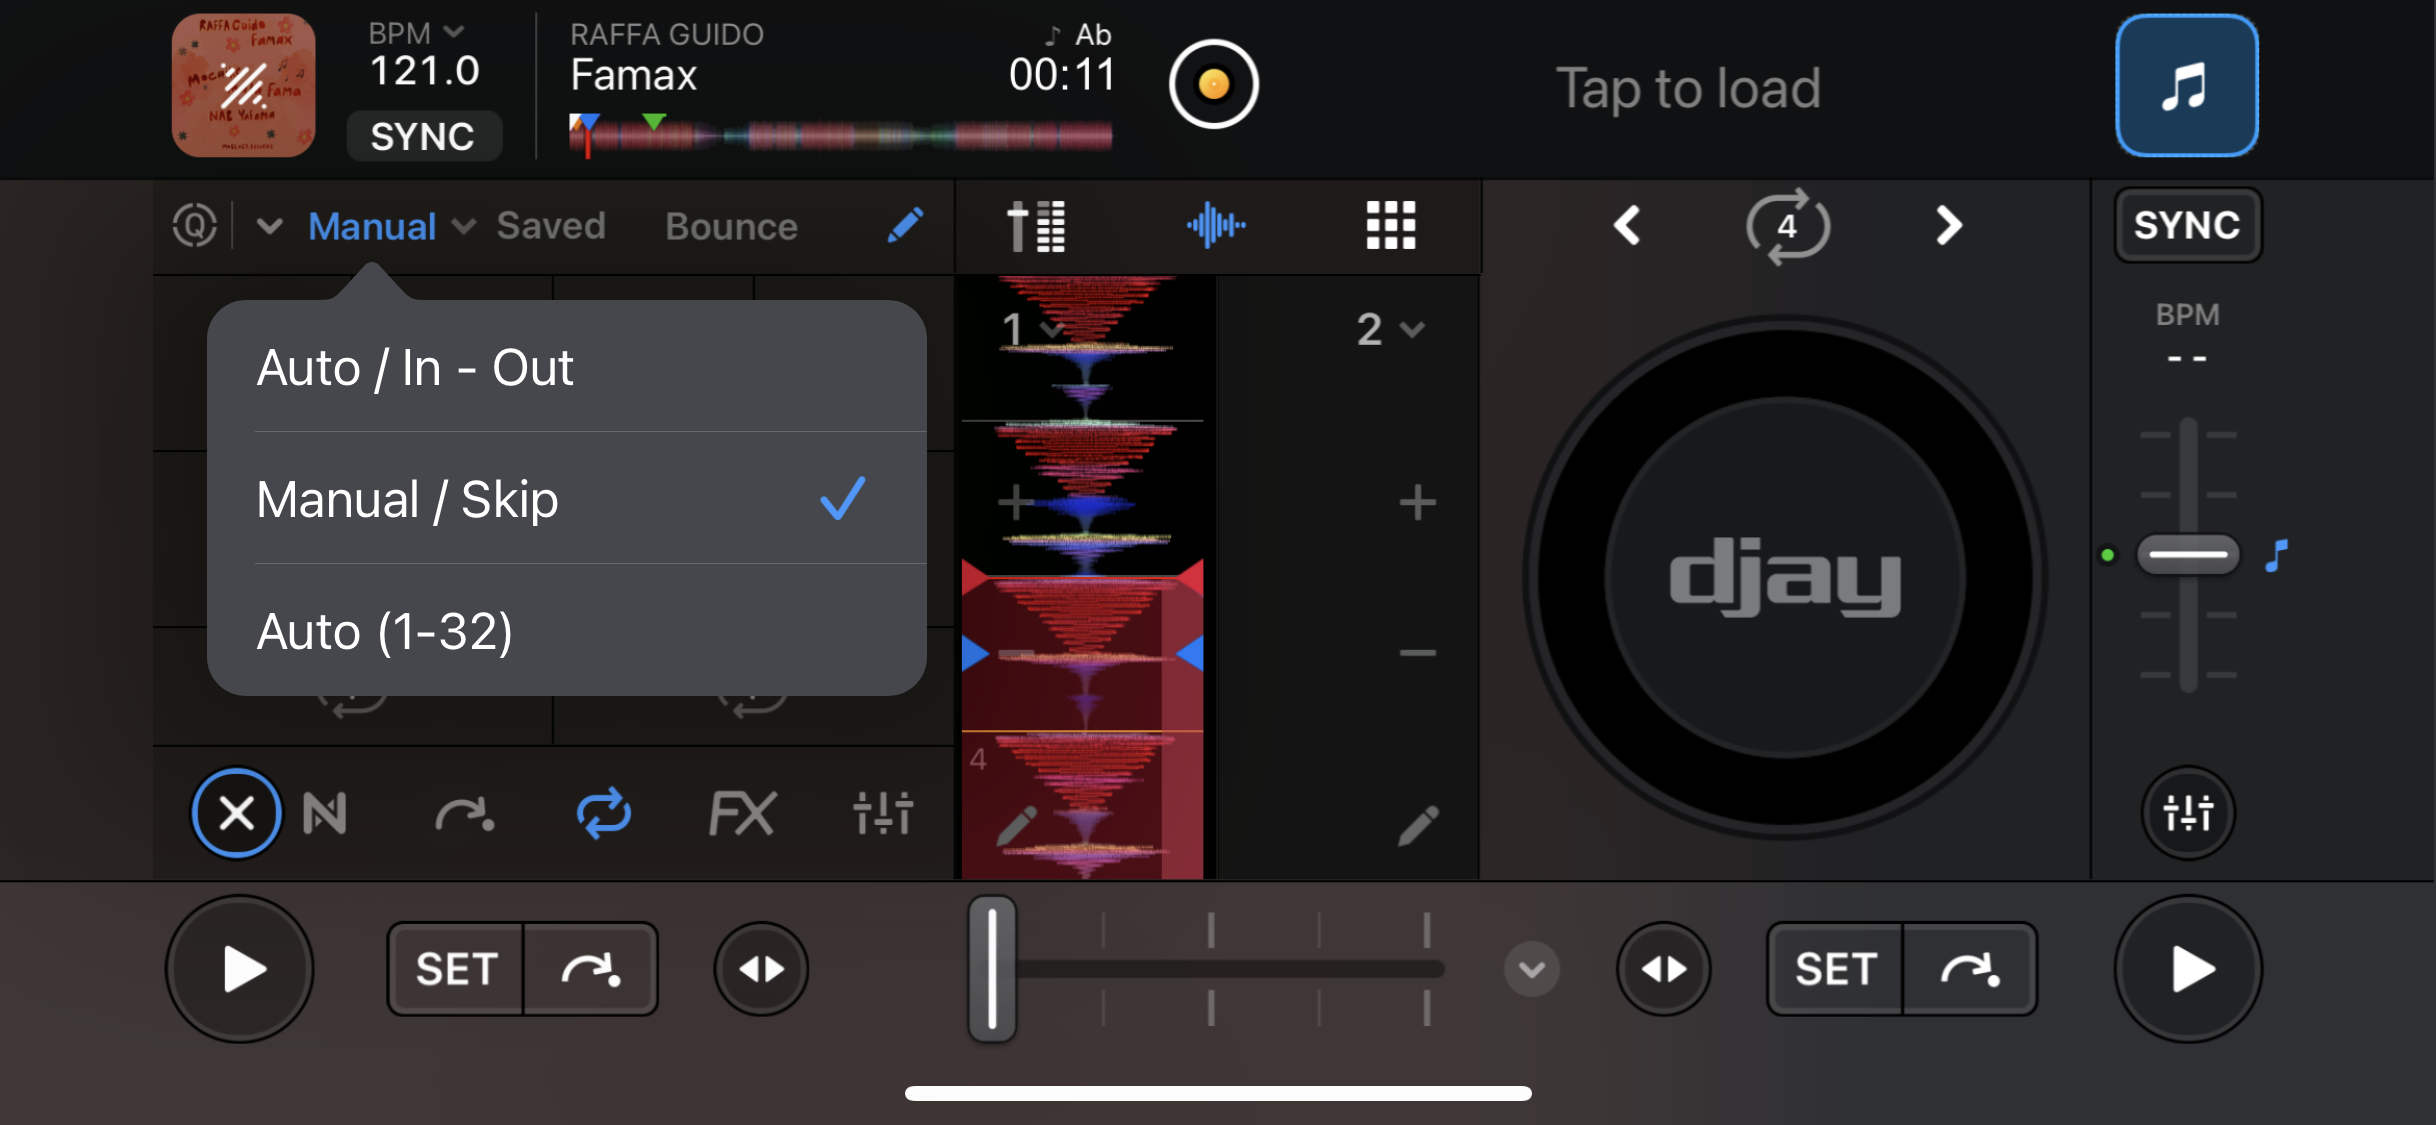
From the Auto dropdown menu, you can choose between:
- Auto / In - Out
- Manual / Skip
- Auto (1-32)
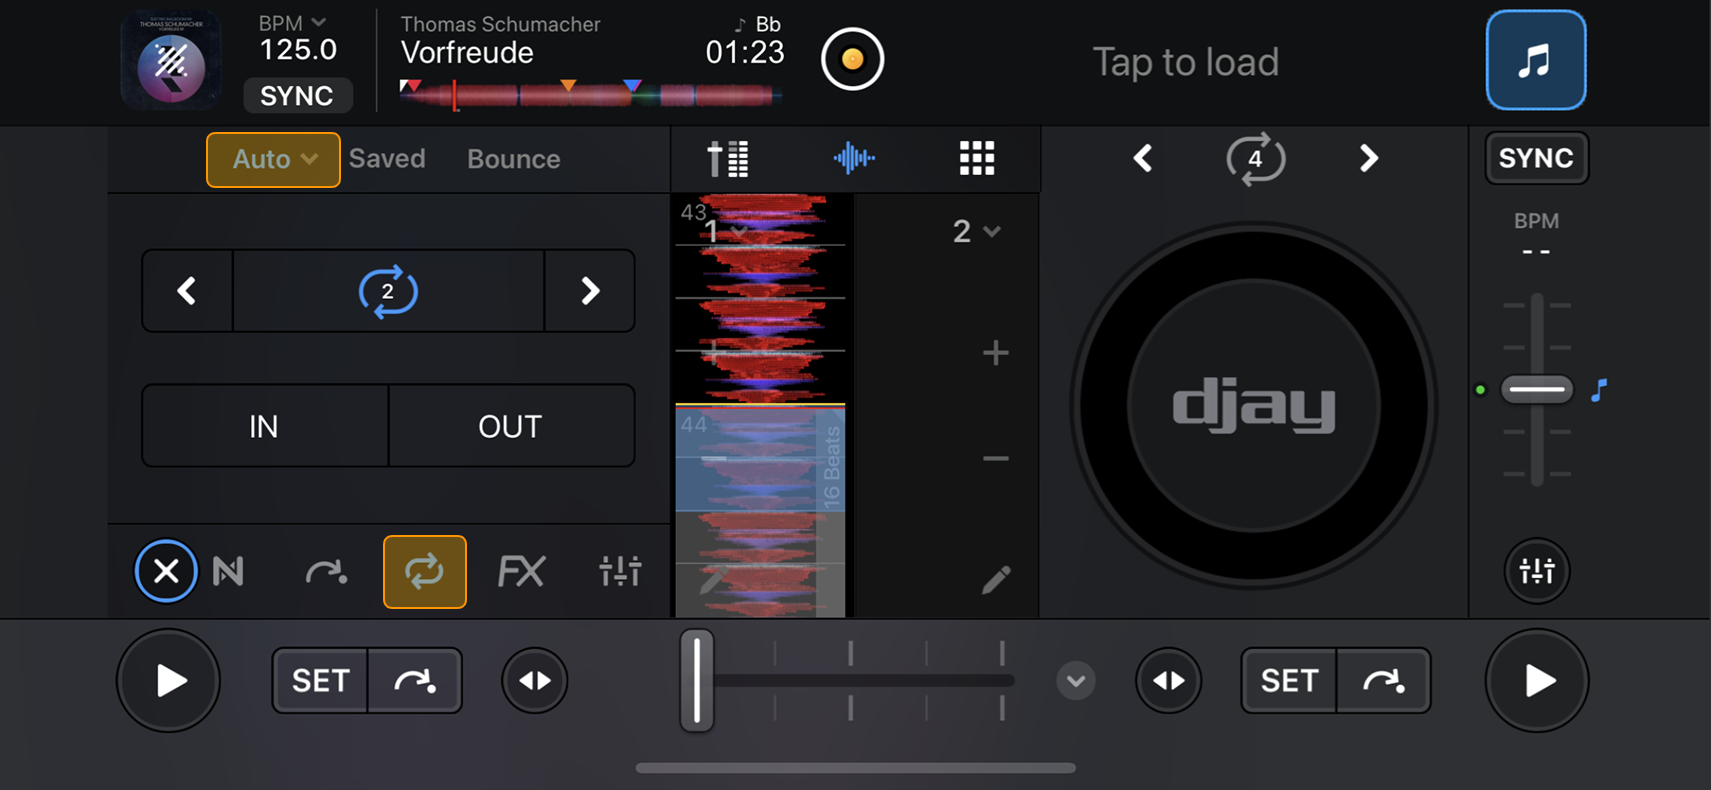
Auto / In - Out
The quickest way to create loops while mixing is with auto loops. The Auto / In–Out section gives you quick controls to choose loops of different lengths or manually tap in your desired loop length.

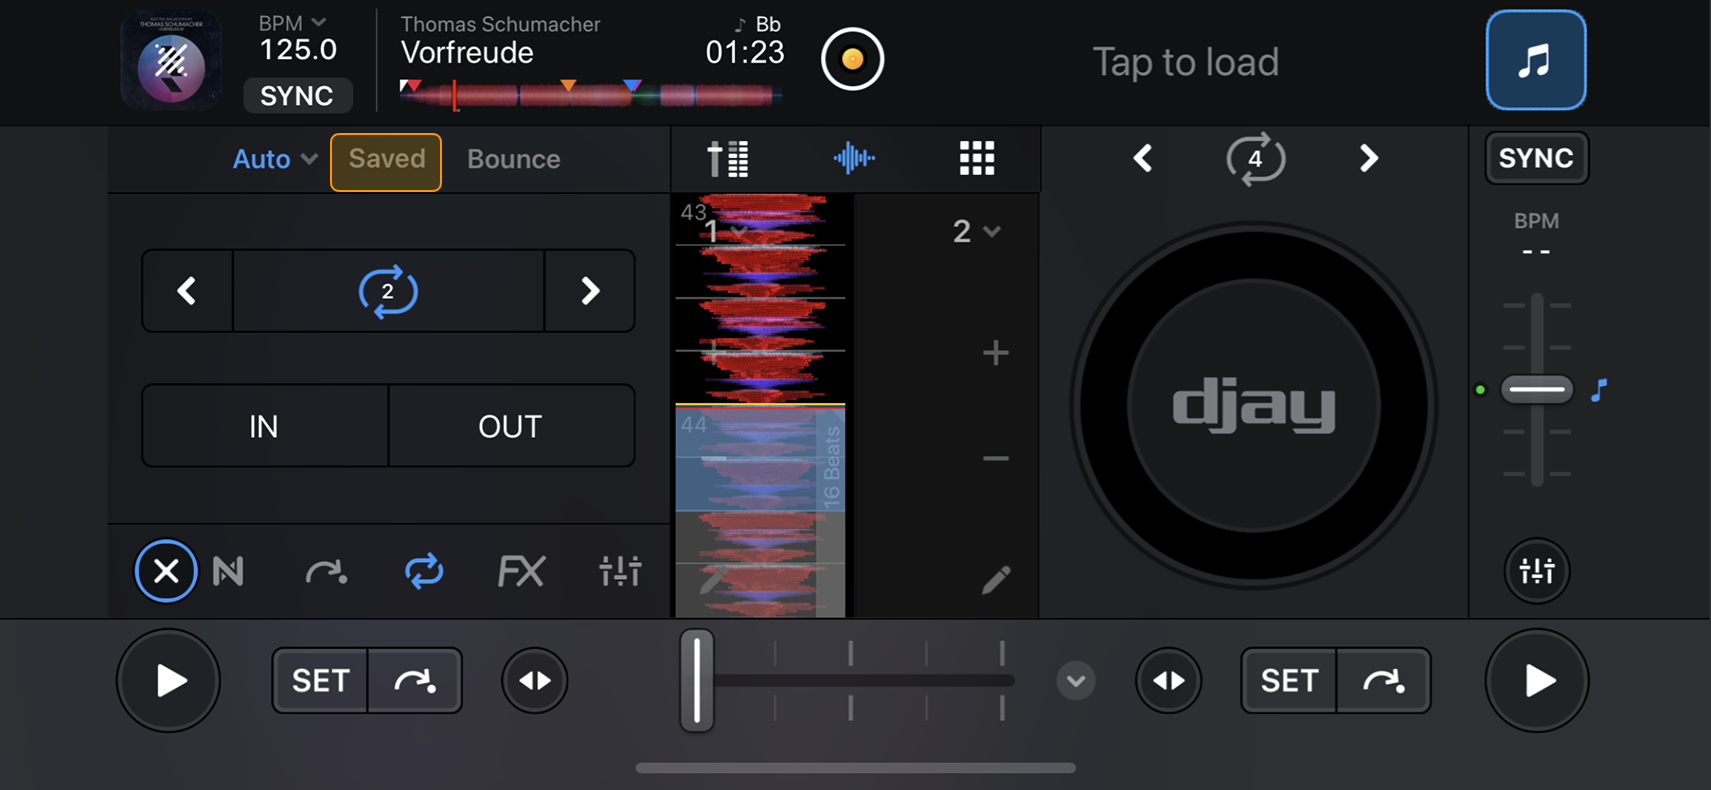
Setting an auto loop
- While a track is playing, use the arrow buttons to set your desired loop length.
- When you reach the point in the track where you want the loop to begin, tap the loop button between the arrows (where the number is shown).
- The button turns blue when the loop is active.
- Tap it again to exit the loop.
If the loop is inactive, pressing the Loop repeat button will jump back to the loop.
In / Out loops
Manual looping gives you full control over where a loop starts and ends—ideal for practicing timing and developing beatmatching skills.
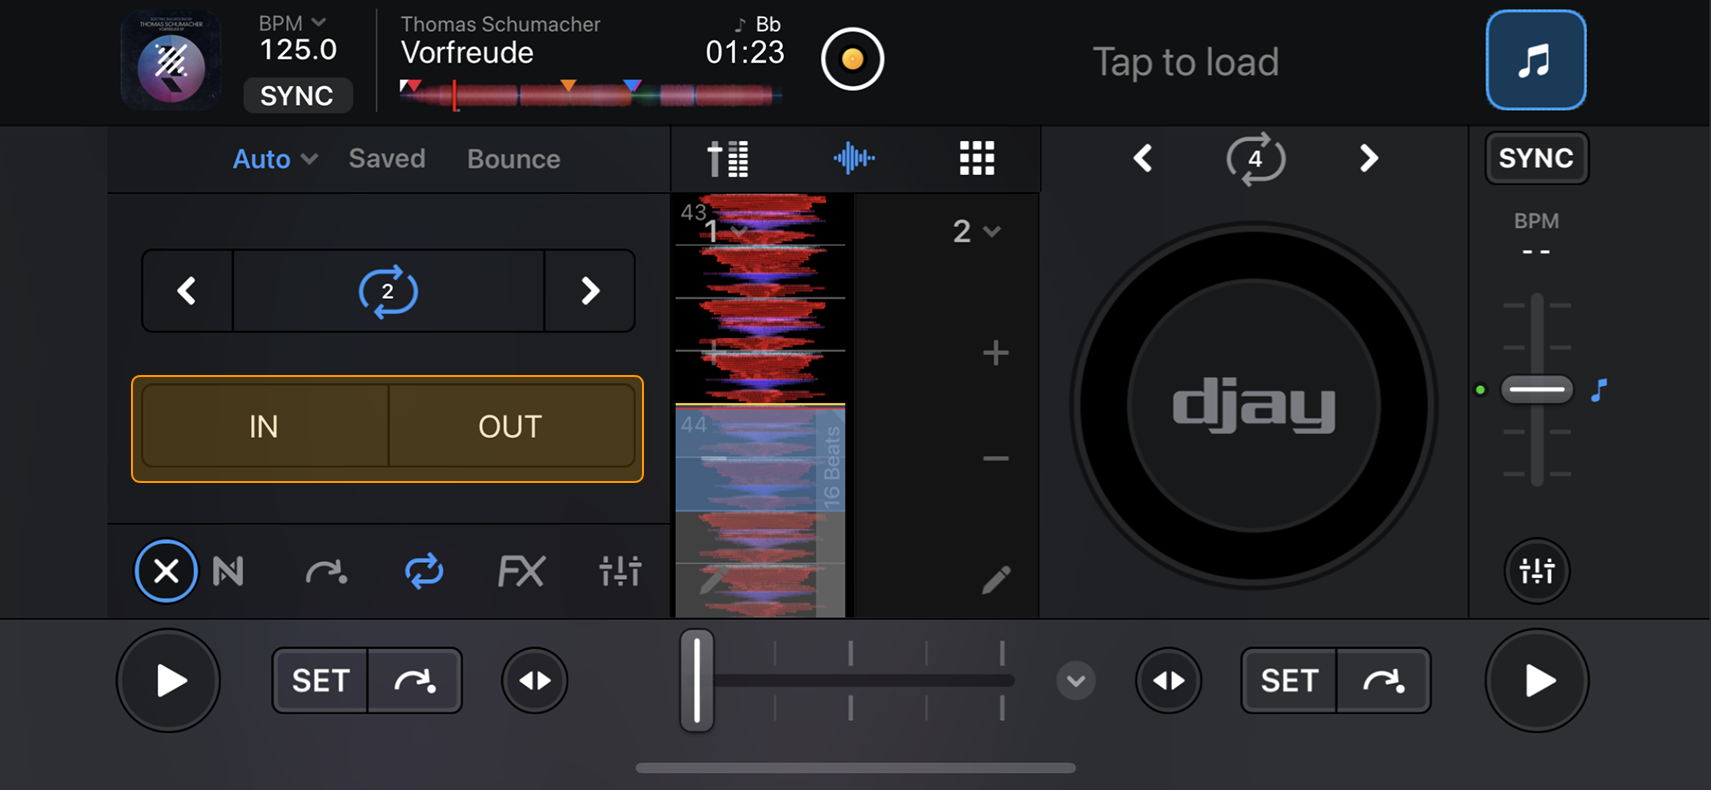
How to use In / Out loops
-
While a track is playing, tap In at the point you want the loop to start.
-
Tap Out when you want the loop to end.
-
Tap the Loop repeat button between the arrows to exit the loop.
Manual / Skip
Select Manual / Skip to see a condensed view of the main manual loop and skip controls. This view is handy if you want quick access to both without navigating through the full interface.
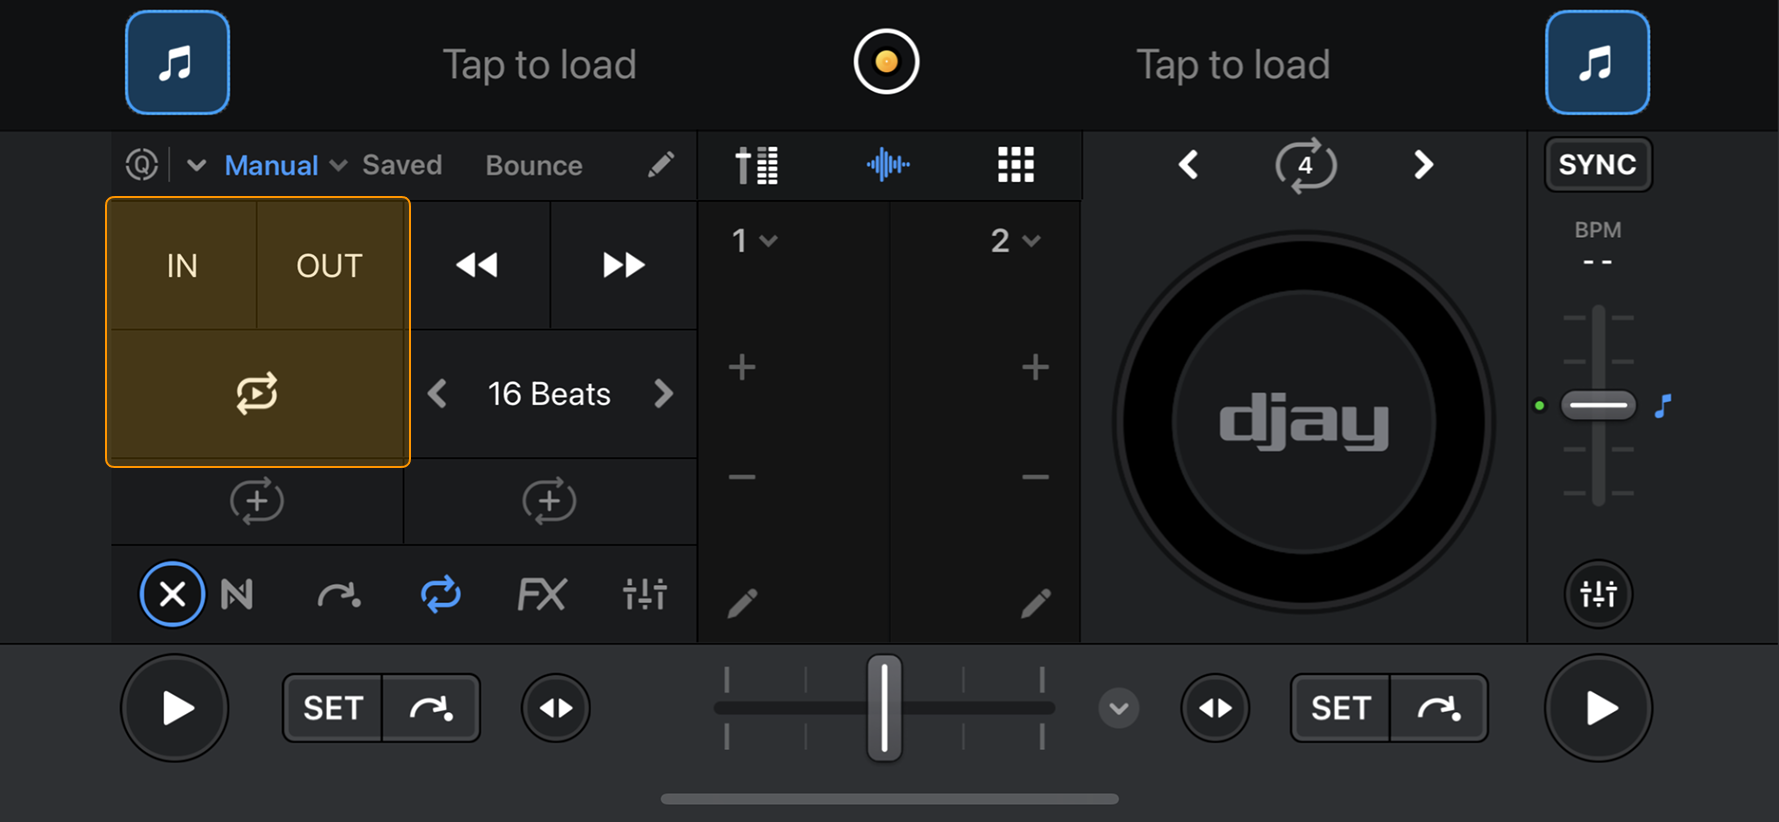
Manual loop controls
Set loop in/out points manually, just like in the Auto In/Out Loop section.
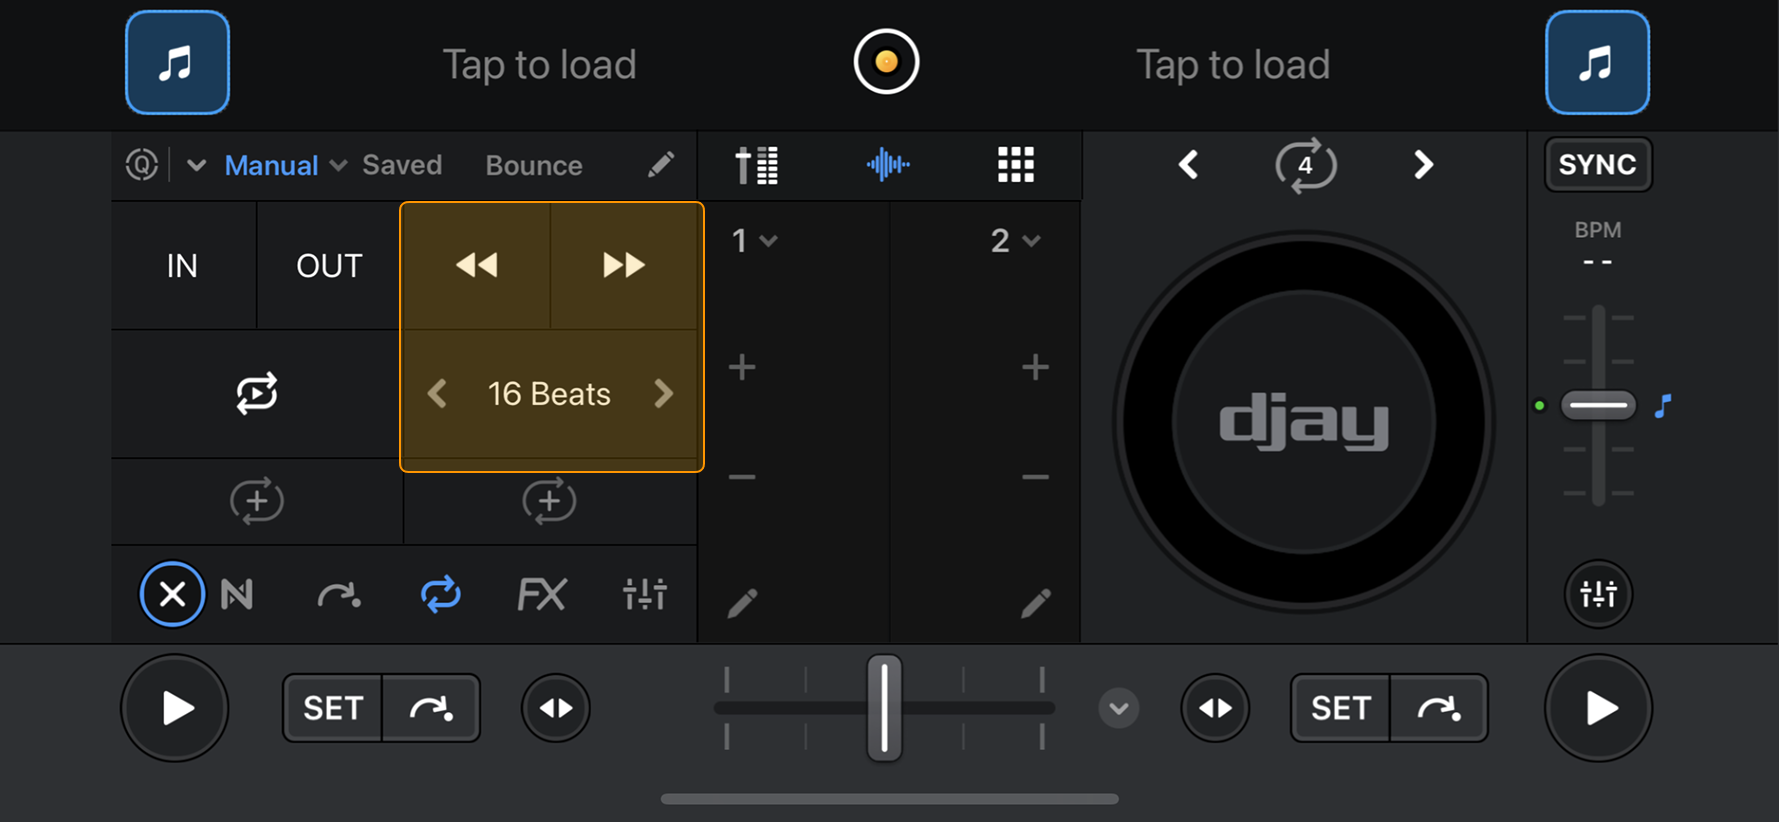
Skip controls
Jump through the track by a set number of beats (1–128). Use the skip arrows to move forward or backward. This section includes all skip functions except Autocue start and end points.
Loop slots
Below the loop and skip controls, you’ll see two loop slots:
- If no loops are saved, any new loops you create will be stored here.
- If loops are already saved for a track, the first two saved loops will appear in these slots.

Auto (1/32)
Select Auto (1–32) to quickly create loops between 1 and 32 beats with a single tap.
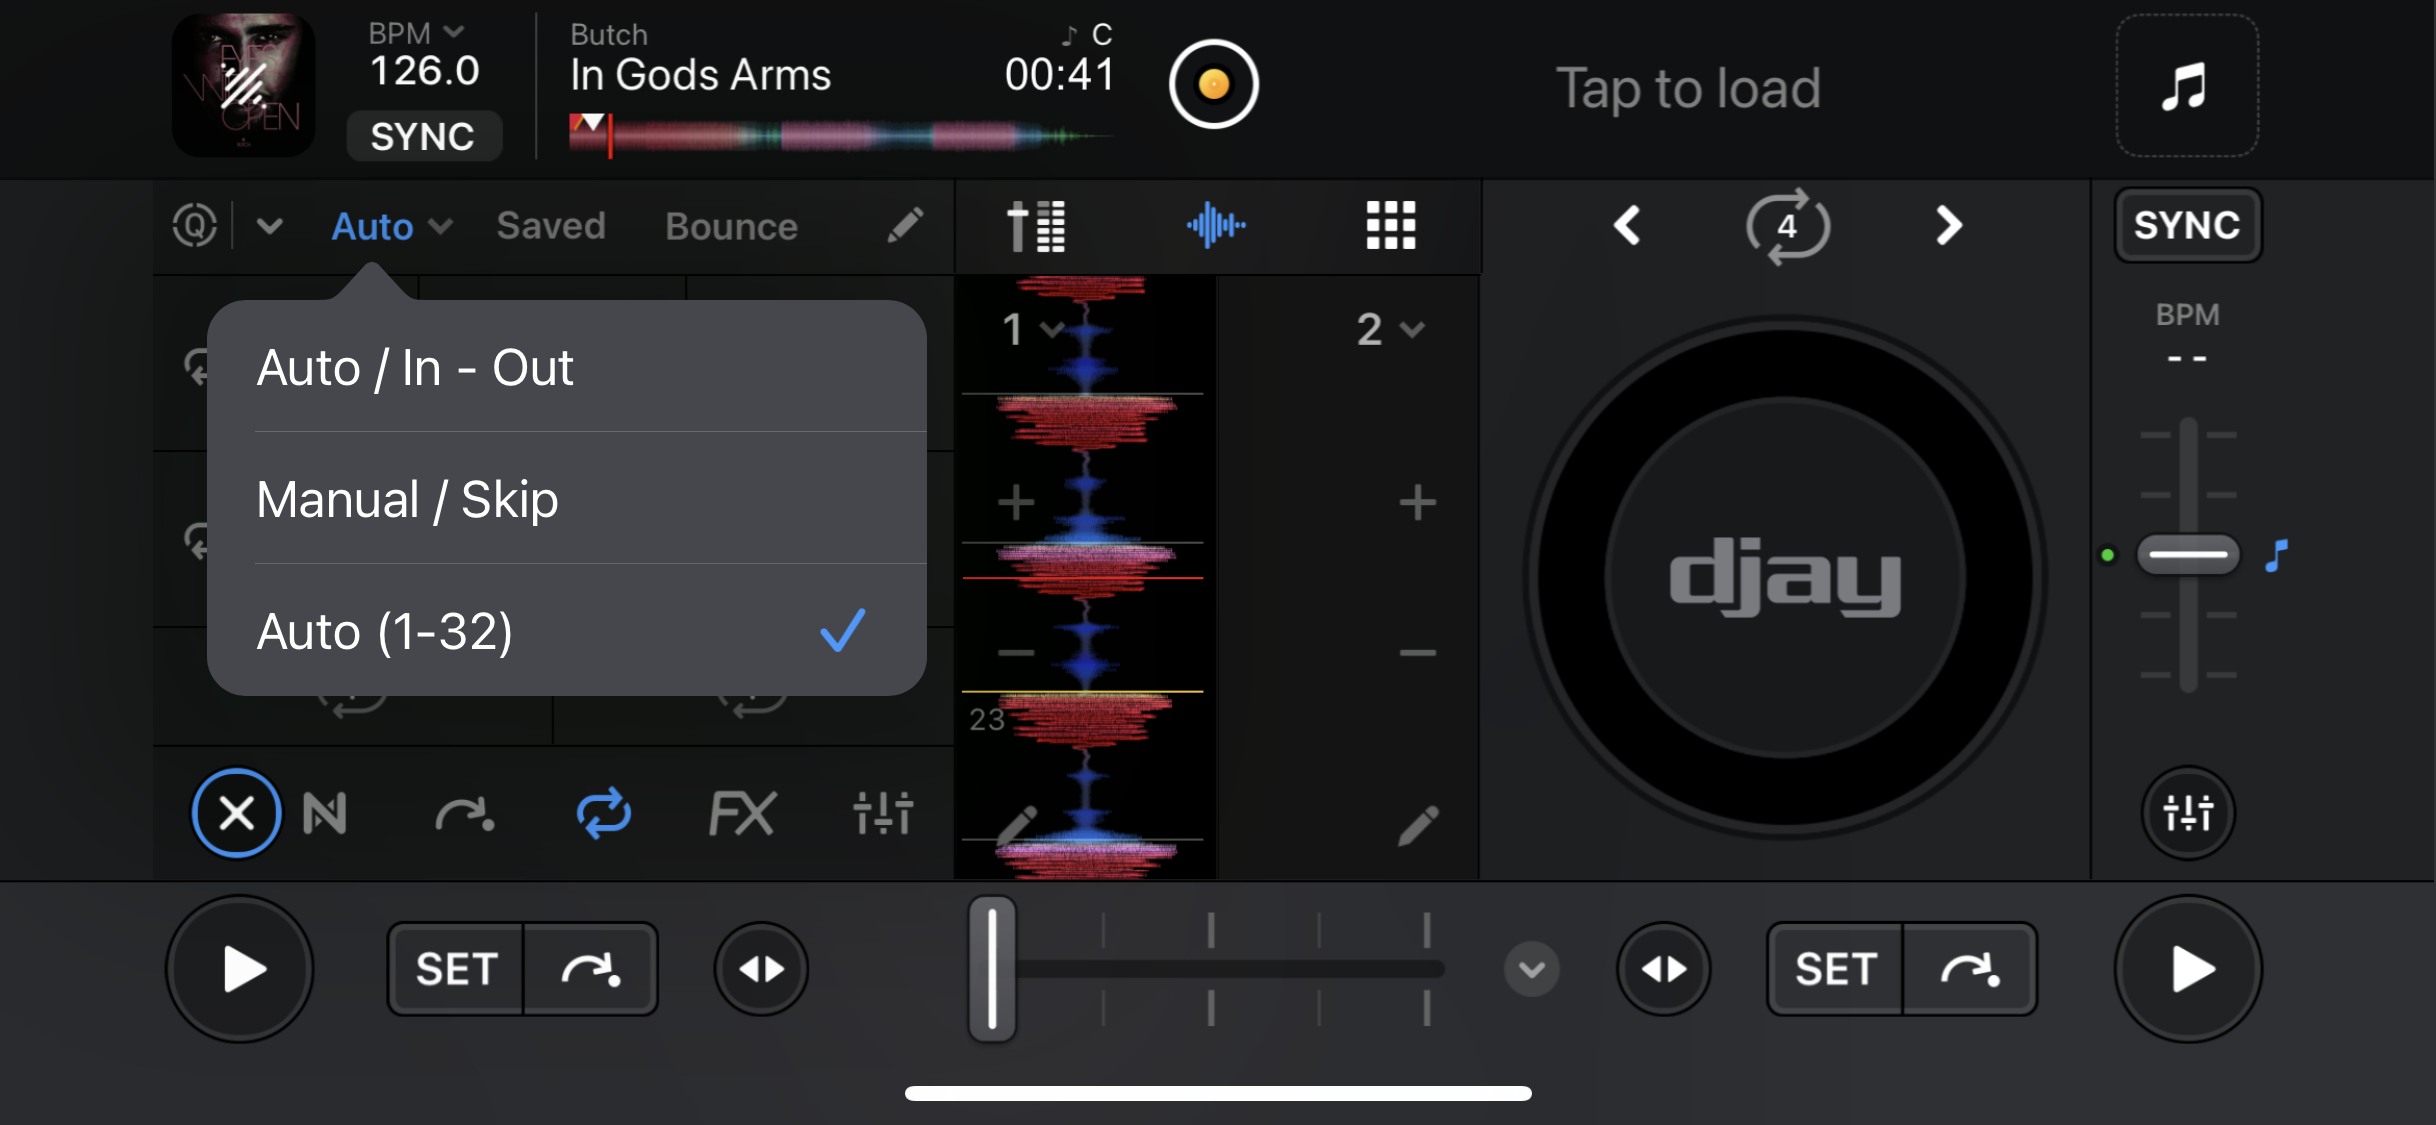
When Auto (1–32) is active, you can instantly create loops of 1, 2, 4, 8, 16, or 32 beats. Tap a beat-length number to toggle the loop on or off.
Remember to use Quantize to keep the loops locked into the beatgrid.
Loop slots
Below the Auto (1–32) controls, you’ll see two loop slots, which work the same way as in the Manual / Skip section:
- If no loops are saved, any new loops you create will be stored in the additional slots.
- If loops are already saved for a track, the first two saved loops will appear in these slots.

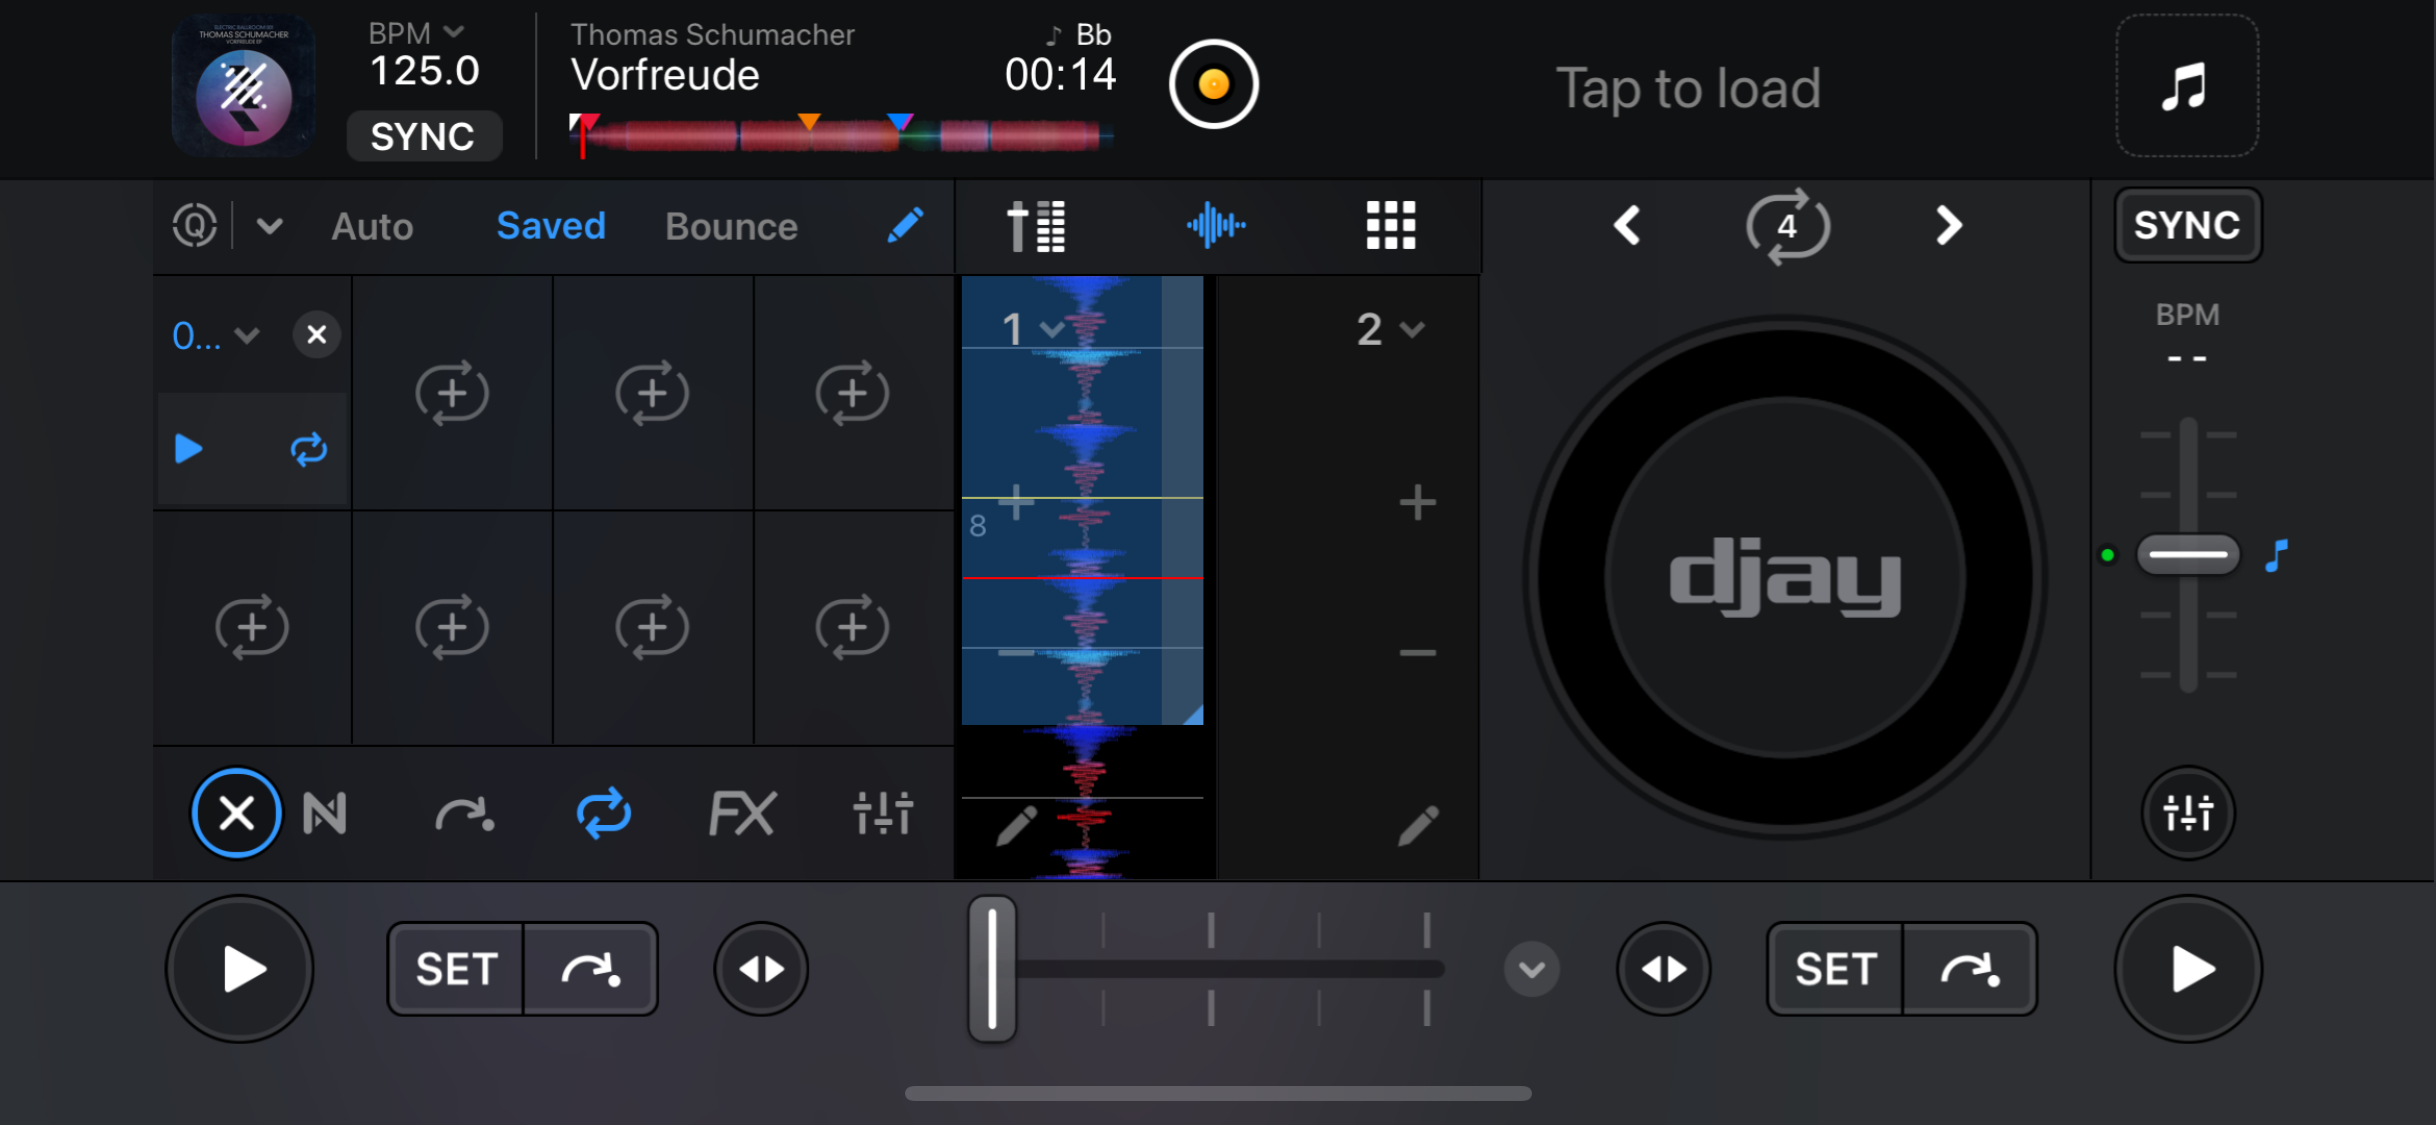
Saved loops
You’ll also see the Saved tab no matter whether you’re using Auto In/Out, Manual / Skip, or Auto (1–32).
Saved loops work just like cue points. Each track can store up to eight saved loops, which appear as pads in this panel.
- Tap a loop pad to instantly jump to that loop.
- Saved loops appear in blue and display a name if previously labeled.
- To remove a loop, tap the Edit button (pencil icon), then tap the X on the pad.
- You can also rename saved loops—useful for marking breakdowns, build-ups, or favorite mix moments.
To activate a loop without jumping to it, tap the loop icon on the pad. Tapping anywhere else will jump directly to the loop.
You can also enable Quantize to keep loops locked to the beat. Toggle the Quantize switch, then choose a snap value: 1/16, 1/8, 1/4, 1/2, 1 beat, or 4 beats.

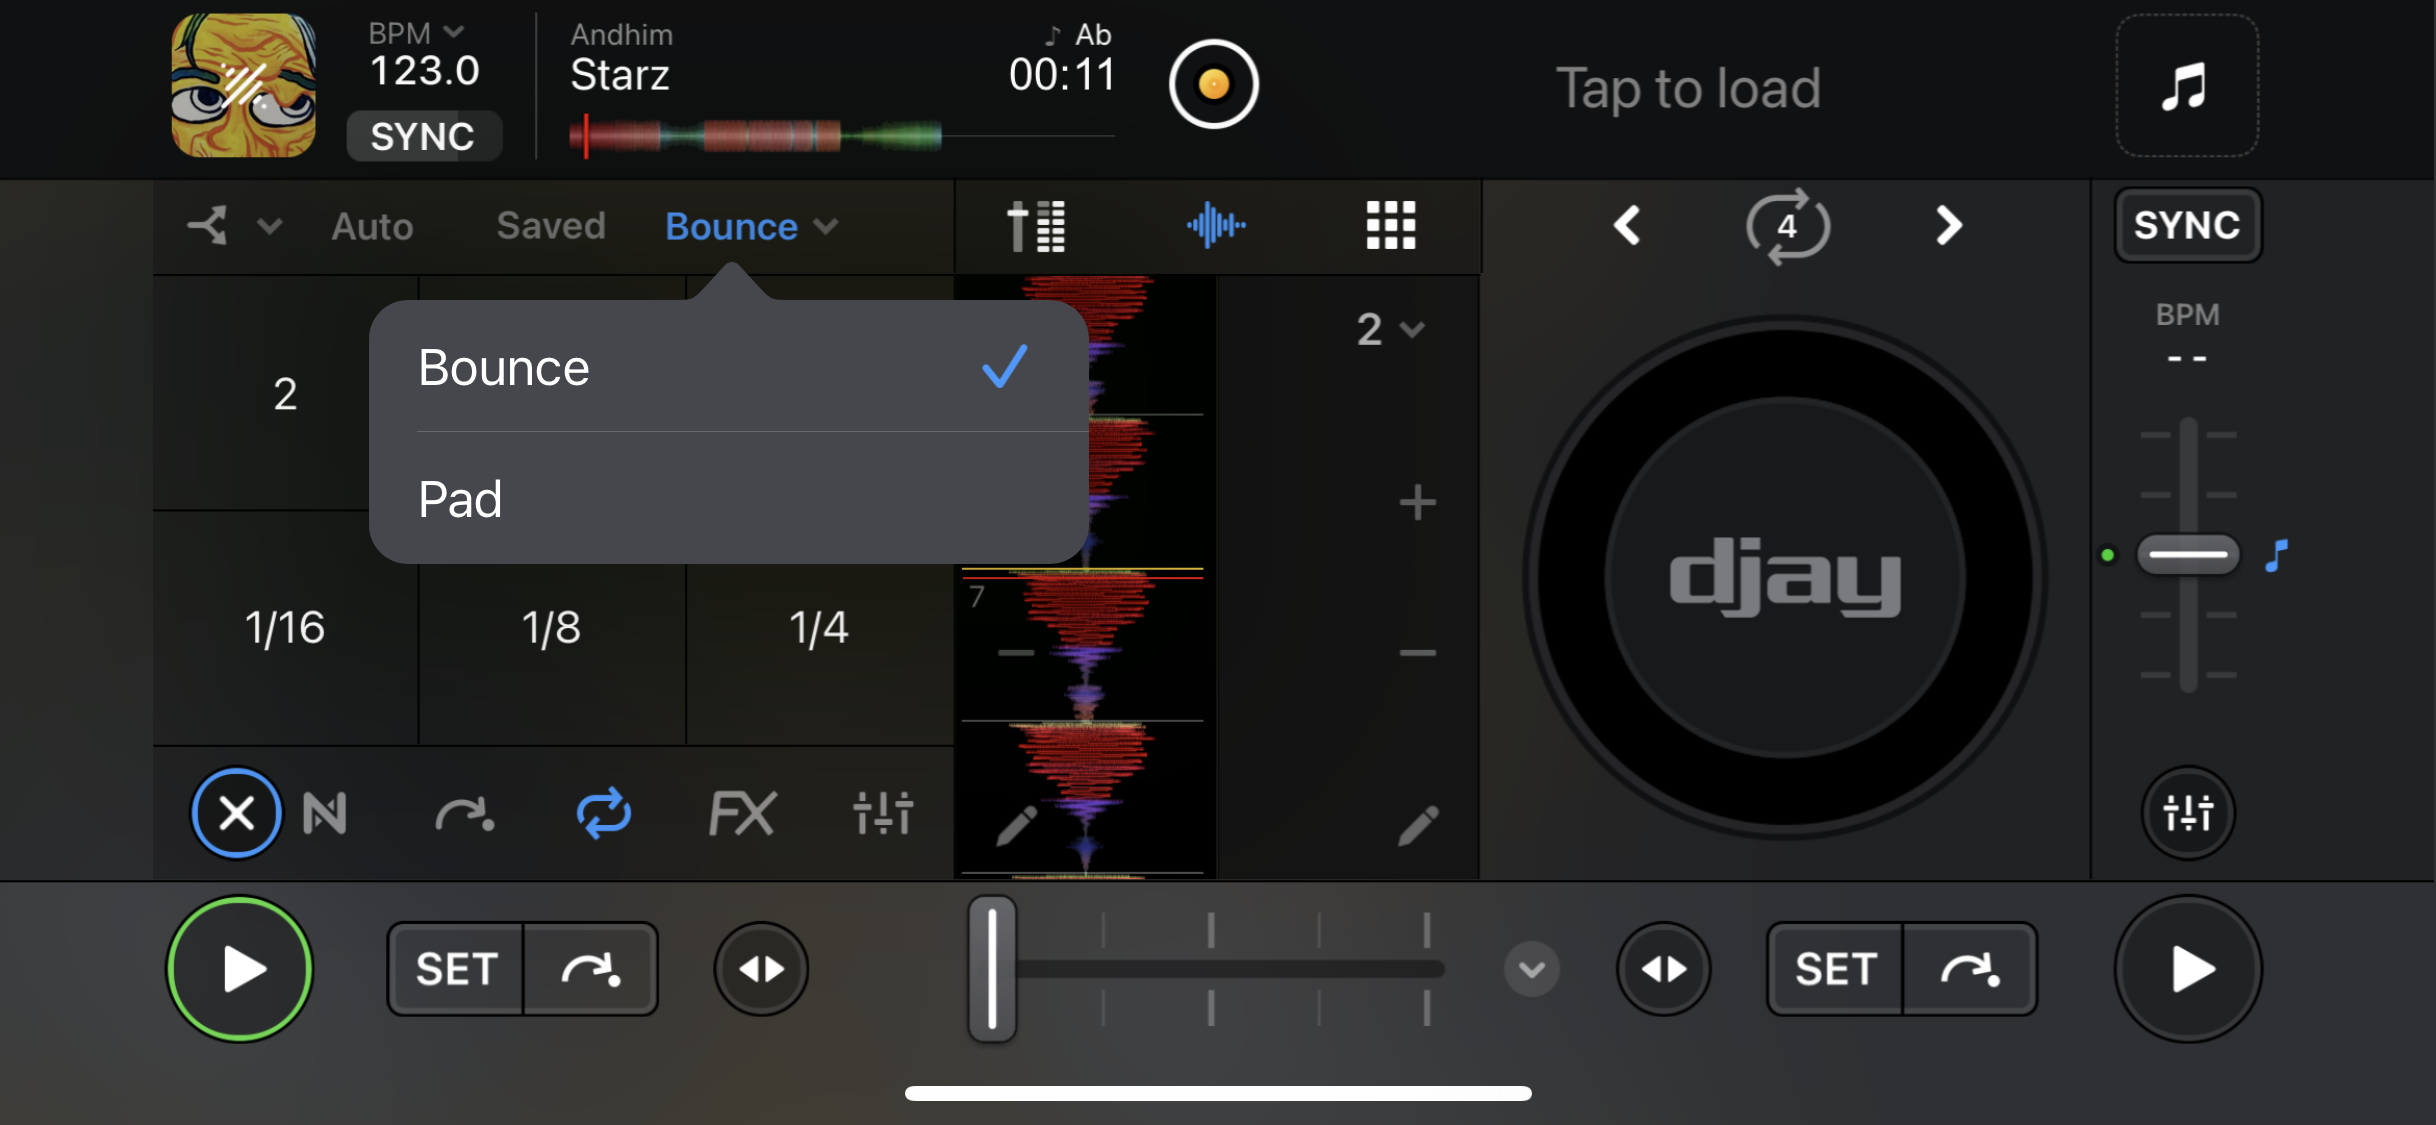
Bounce
Alongside the Saved tab, the Bounce tab gives you two ways to create rhythmic effects: Bounce Pads and an X/Y Pad.
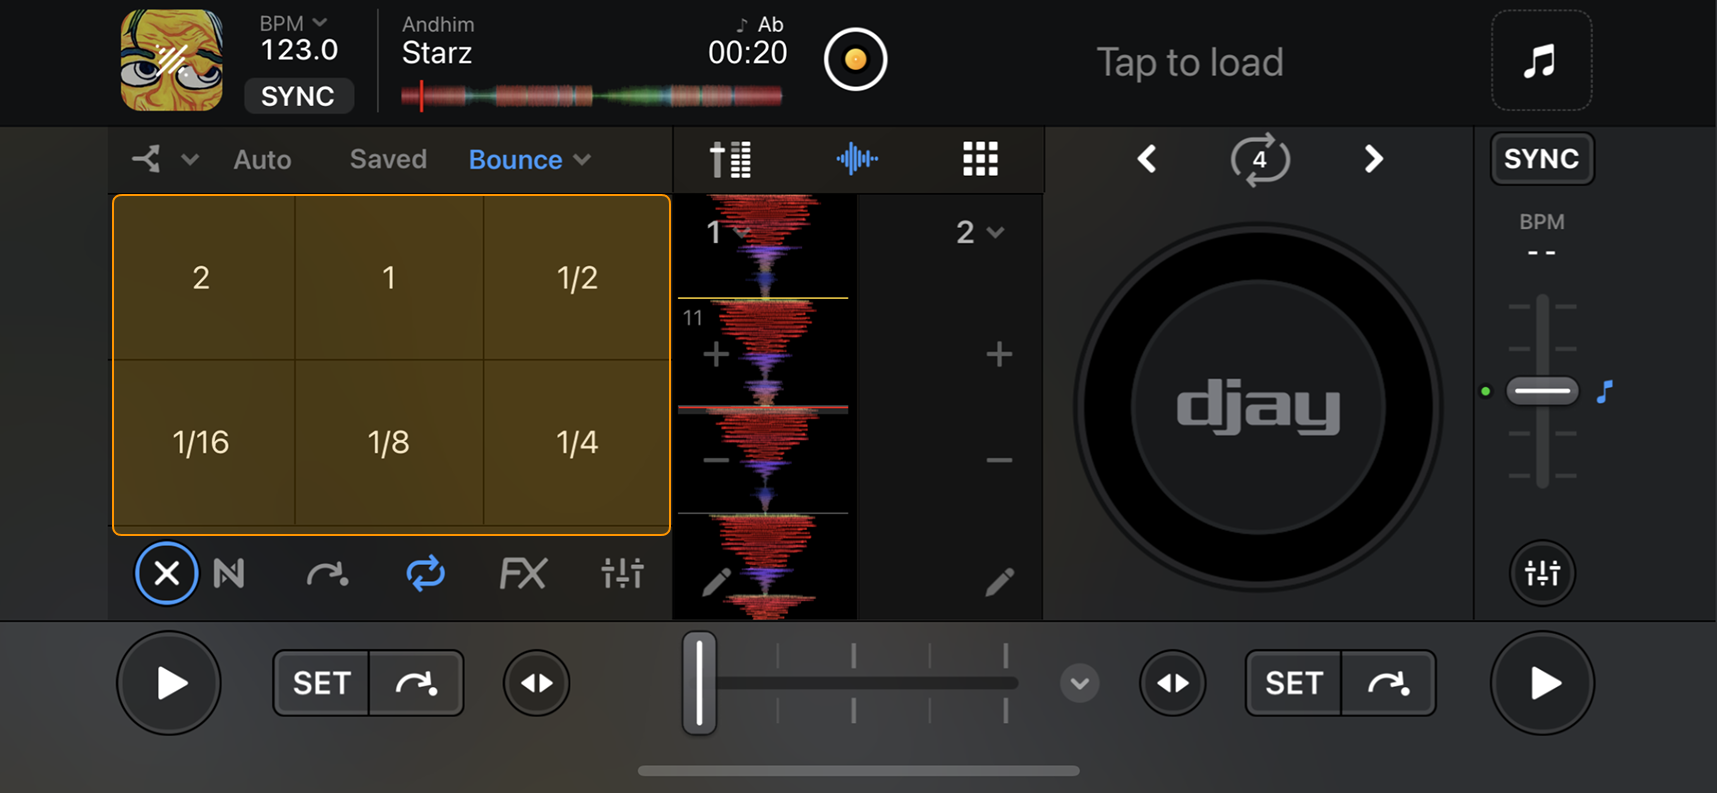
Bounce Pads
Trigger short, beat-synced loops that “bounce” in time with the music—perfect for stutters, fills, or adding tension before a drop.
- Six pads are available, with loop lengths from 2 beats down to 1/16 beat.
- Tap and hold a pad to trigger the loop. Release to return to normal playback.
Use Bounce Pads for beat rolls or glitch effects to create build-up before a drop or breakdown.
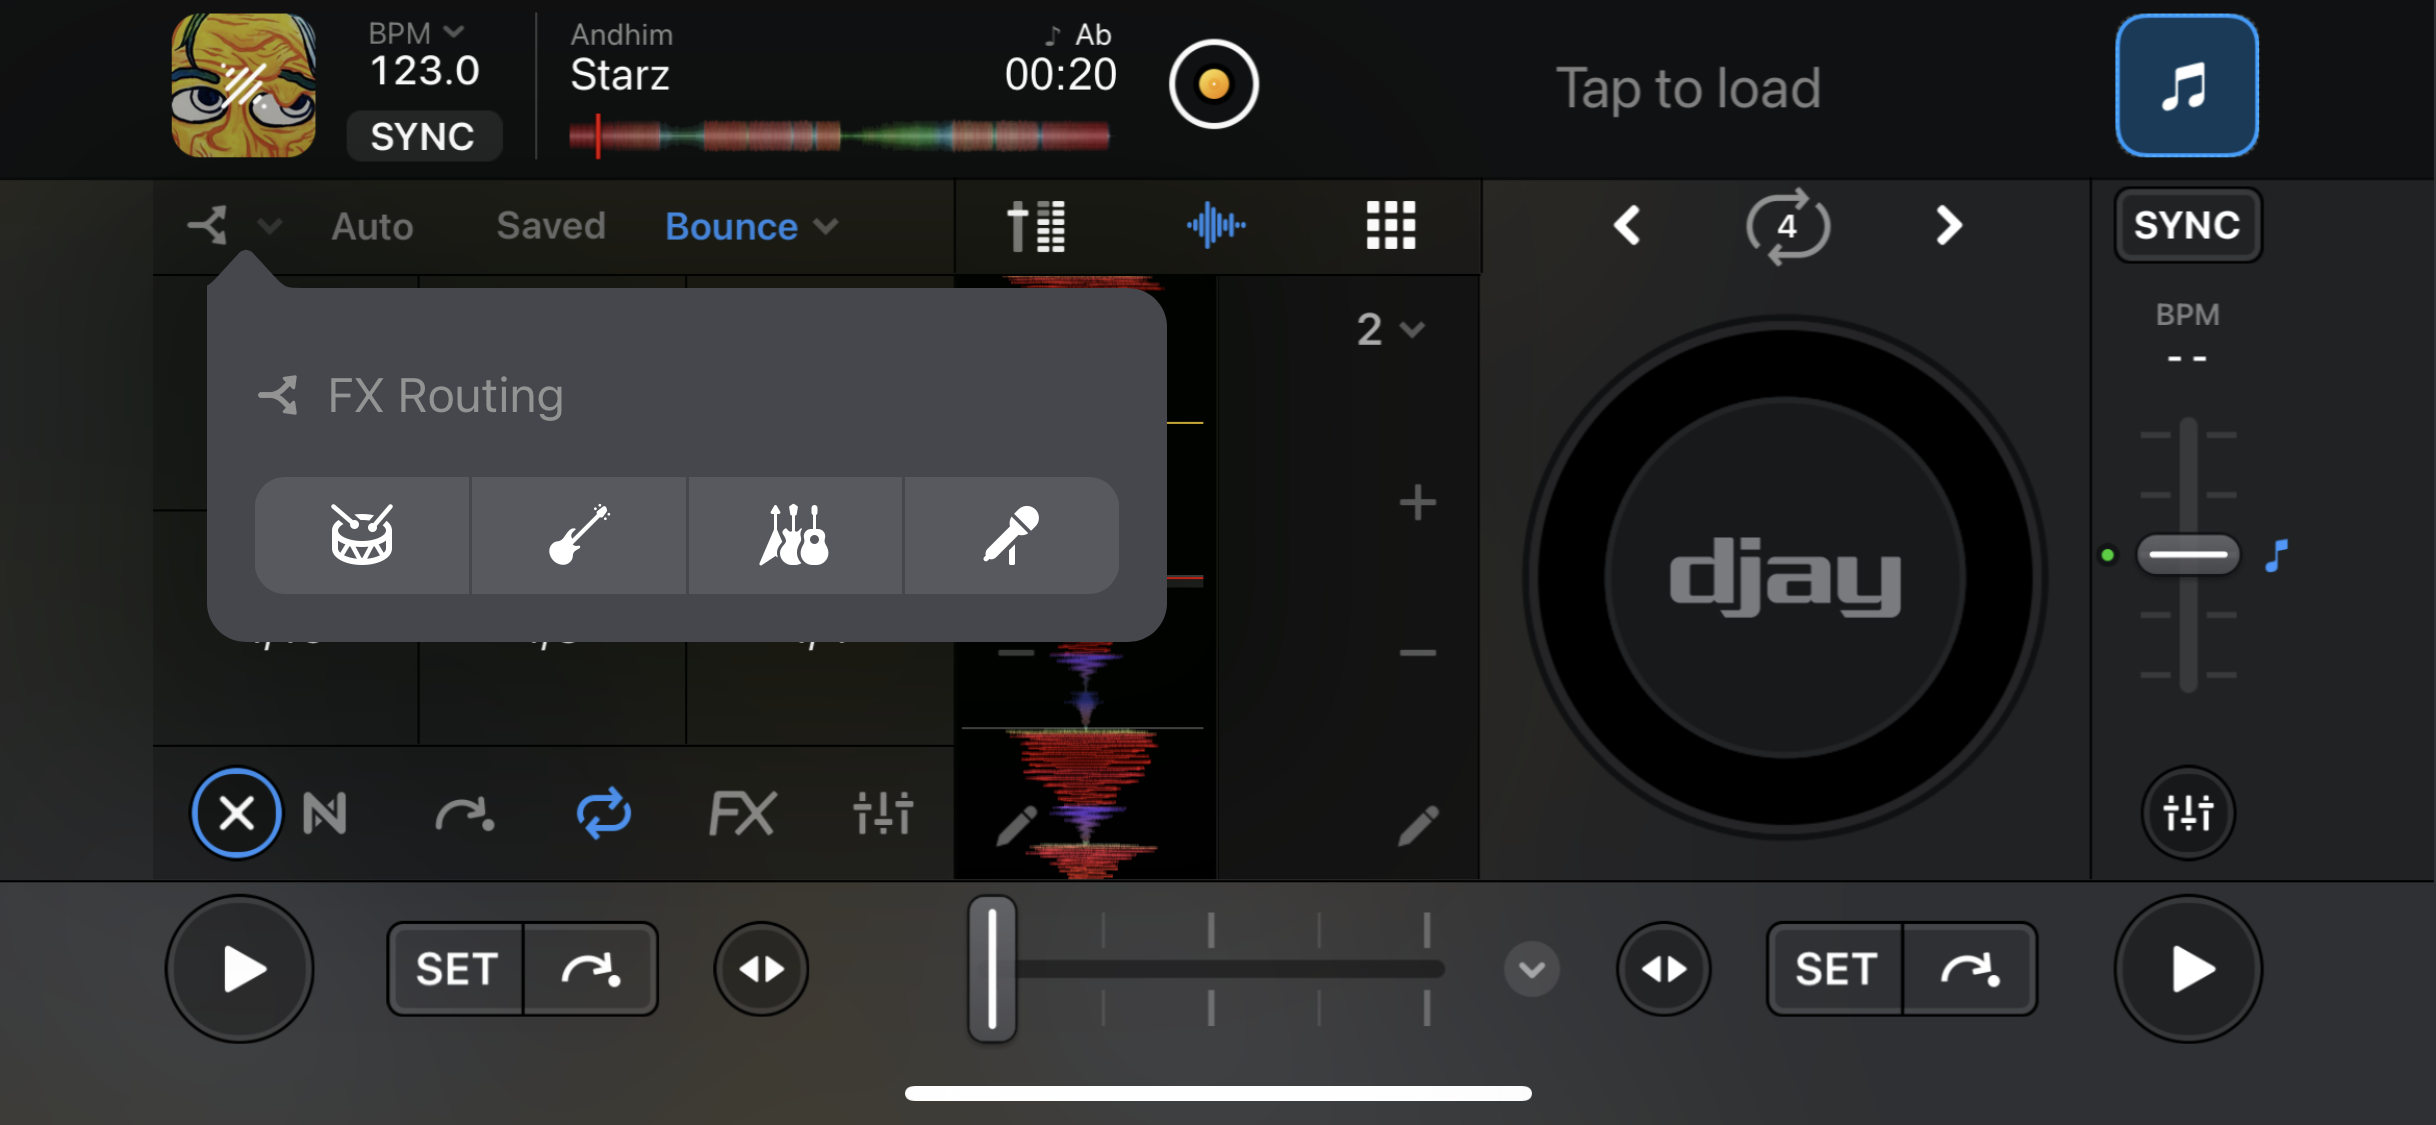
You can also route Bounce Pads to individual stems using Neural Mix™. Tap the FX routing dropdown menu to assign them to vocals, harmonics, bass, or drums.
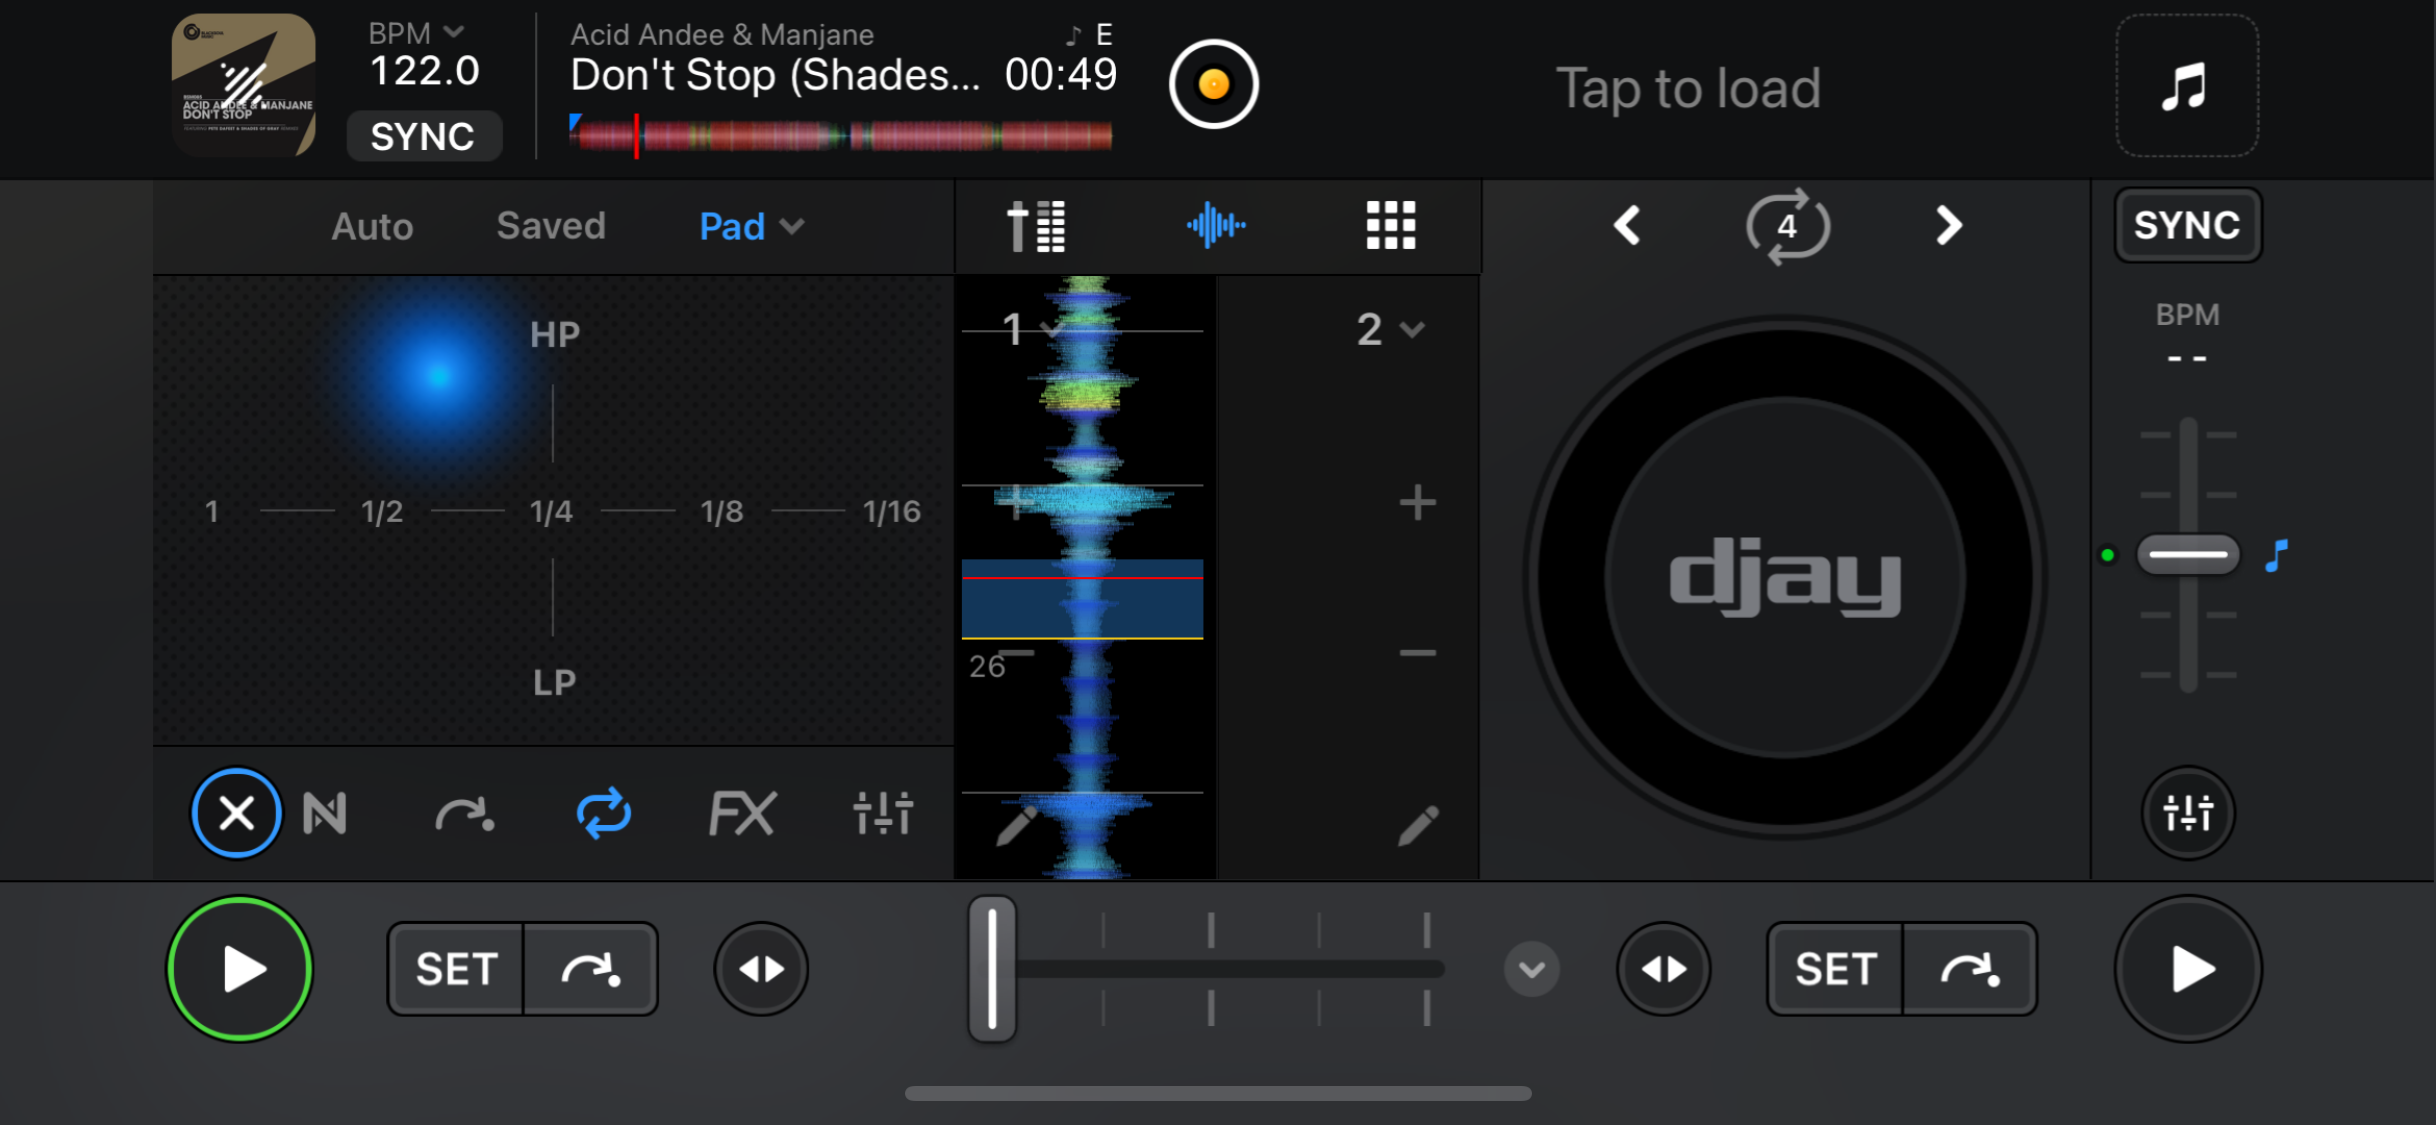
Pad
The Pad option turns the tab into an X/Y Pad. Use your finger to combine loop lengths with a high-pass or low-pass filter for added texture.
Go to the Effects section to learn more about filters and advanced FX.